Achieve a Tender, Flaky Pie Crust: Your Go-To Recipe Guide
There’s nothing quite as satisfying as a homemade pie, whether it’s bursting with sweet fruit, creamy custard, or savory fillings. Yet, for many home bakers, the journey to a truly magnificent pie often begins and ends with the crust. The quest for that elusive balance of melt-in-your-mouth tenderness and delicate flakiness can feel daunting. But what if we told you that achieving your dream pie crust isn't a dark art, but a science of simple ingredients and careful technique? This comprehensive guide will walk you through the essential steps and insider secrets on how to make pie crust that will earn you rave reviews every time.
Forget the fear of tough, dry, or crumbly crusts. We're about to demystify the process, revealing how the right choices in fat, the perfect mixing technique, and even a secret ingredient or two can transform your pie-baking prowess. Get ready to elevate your pies from good to truly unforgettable.
The Fundamental Trio: Flour, Fat, and Liquid
At its heart, pie crust is a minimalist masterpiece—a careful blend of just three primary ingredients: flour, fat, and liquid. However, the specific choices you make for each, and how you bring them together, are paramount to the final texture and flavor of your crust.
Flour: The Foundation
All-purpose flour is the standard choice for pie crusts. Its moderate protein content offers a good balance between structure and tenderness. While some recipes call for pastry flour (lower protein, more tender result) or bread flour (higher protein, tougher result), sticking with unbleached all-purpose flour is generally safest for consistent success. Avoid overworking the flour once liquid is added, as this develops gluten, leading to a chewy, tough crust rather than a flaky one.
Fat: The Heart of Flakiness and Flavor
The type of fat you choose is arguably the most crucial decision, impacting both texture and taste. As professional bakers often confirm, testing different fats reveals distinct characteristics. While some prefer the convenience of one, others prioritize the sensory experience. For a deeper dive into the specifics of fat choices, you might find this article insightful: Which Fat Makes the Best Pie Crust: Shortening vs. Lard.
- All-Shortening Crust: Shortening, being 100% fat, contains no water, making it a dream for creating extremely tender doughs. It's solid at room temperature and has a higher melting point than butter, making the dough malleable and relatively easy to roll. However, as some bakers find, an all-shortening crust can be "lackluster in flavor and texture," often yielding a sandy, crumbly, melt-in-your-mouth experience rather than distinct flakiness. It can also be quite fragile, prone to cracking. It's an excellent option for vegan or dairy-free diets, or if you prefer a very tender, less firm dough.
- All-Lard Crust: Lard, rendered pork fat, shares some characteristics with shortening—it's also 100% fat and relatively easy to work with when cold due to its solid structure. It tends to produce an even more tender crust than shortening, often described as wonderfully smooth to roll out. The primary drawback for some is its "subtle meaty savoriness," which, while less noticeable with sweet fillings like apple, might still be a preference for savory pies. Like shortening, an all-lard crust often lacks the pronounced flakiness that many associate with a classic pie.
- All-Butter Crust: While not detailed in the provided context, an all-butter crust is a gold standard for many. Butter (typically 80% fat, 20% water) excels in flavor, imparting a rich, nutty aroma and a beautiful golden hue. The water content in butter is key to flakiness: as the butter melts in the oven, the water turns to steam, creating pockets of air that separate the layers of dough. This results in the desired flaky texture. The challenge with butter is keeping it cold and working quickly, as it softens faster than shortening or lard.
- Blended Fat Crust: Many bakers swear by a combination of fats, often butter and shortening. This approach leverages the best of both worlds: the superior flavor and flakiness of butter combined with the tenderness and workability of shortening. This blend can offer a dough that's easier to handle while still delivering a delicious, multi-textured crust.
Liquid: The Binder and Gluten Regulator
Ice-cold water is the preferred liquid. Cold water helps keep the fat solid, which is crucial for preventing a tough crust. It also controls gluten development. You want to add just enough water to bring the dough together, usually a few tablespoons at a time, until it barely holds. Too much water will make the dough sticky and tough; too little will make it dry and crumbly.
Mastering the Art of Mixing and Handling
Knowing your ingredients is one thing; mastering the technique for combining them is another. This is where the magic truly happens, transforming simple components into a cohesive dough that promises tenderness and flakiness.
The Cold Imperative
This is perhaps the most critical rule: all your ingredients, especially the fat and water, must be as cold as possible. Use ice water (even adding a few ice cubes to the water before measuring), and ensure your butter or shortening is chilled solid, or even frozen, before you begin. Cold fat creates pockets in the dough; when baked, these pockets release steam, creating those coveted flaky layers. Warm fat melts into the flour, leading to a dense, tough crust.
Cutting in the Fat: The Pea-Sized Secret
The goal is to incorporate the cold fat into the flour in varying sizes. You want some pieces about the size of small peas, and others like coarse meal. The pea-sized pieces will create those distinct flaky layers, while the smaller pieces will contribute to overall tenderness. You can achieve this using a pastry blender, two knives, or even your fingertips (working quickly to avoid warming the fat). Some modern bakers even use a food processor for this step, pulsing just until the desired consistency is reached.
Minimal Handling, Maximum Tenderness
Once the liquid is introduced, your mission is to handle the dough as little as possible. Overworking the dough develops gluten, which is the enemy of a tender pie crust. Mix just until the dough comes together—it might still look a little shaggy and dry in spots, but that’s okay. Gently gather it into a disk, wrap it tightly in plastic wrap, and resist the urge to knead it smooth.
The Power of Resting: Chill Out!
After forming your dough disk, refrigerate it for at least 30 minutes, but ideally 1-2 hours. This chilling period is vital for several reasons: it allows the flour to fully hydrate, relaxes the gluten you inevitably developed during mixing, and, crucially, re-firms the fat. A properly chilled dough is much easier to roll out, less prone to sticking, and will yield a more tender and flaky crust. You can even make pie dough a day or two in advance and store it in the fridge, or freeze it for later use.
Rolling, Shaping, and the Magic of Blind Baking
Once your dough is perfectly chilled, the next steps involve preparing it for its grand entrance into the oven. Careful handling here ensures a beautiful, functional crust.
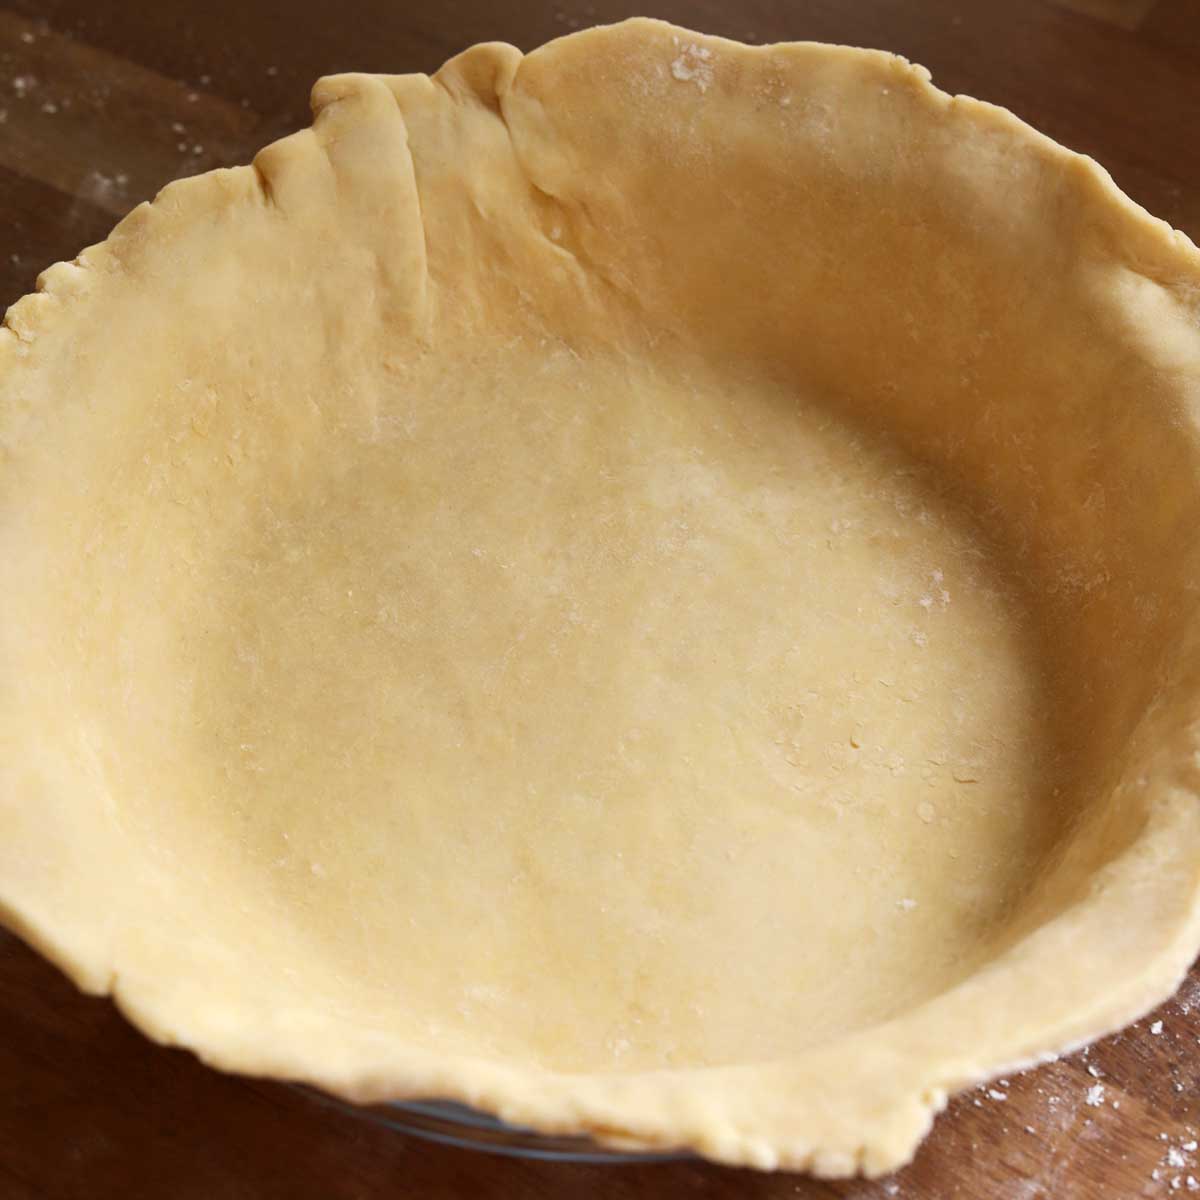
Rolling with Confidence
On a lightly floured surface, roll your chilled dough from the center outwards, rotating it frequently to prevent sticking and ensure an even thickness. Aim for a thickness of about 1/8 inch. If the dough starts to crack at the edges, gently pinch it back together. If it gets too warm or sticky, pop it back in the fridge for 10-15 minutes. Once rolled, carefully transfer it to your pie plate. Trim the edges, leaving about an inch of overhang, then fold and crimp or flute as desired.
Blind Baking: The Secret to a Crisp Bottom
For many pies, especially those with wet fillings (like quiches, custard pies, or fresh fruit pies that don't get baked for long), blind baking (or parbaking) is a non-negotiable step. This process involves baking the crust without its filling, preventing a soggy bottom. The professional baker in our reference context used blind-baked crusts to evaluate texture and flavor without other influences, highlighting its importance.
- Chill Again: Once the dough is in the pie plate and shaped, chill it in the freezer for 15-30 minutes. This helps prevent shrinkage during baking.
- Line and Weigh: Line the chilled crust with parchment paper or foil, then fill it with pie weights, dried beans, or rice. These weights help keep the crust from puffing up and shrinking.
- Bake: Bake in a preheated oven (usually 375-425°F or 190-220°C) until the edges are lightly golden, typically 15-20 minutes.
- Remove Weights & Finish: Carefully remove the weights and parchment/foil. Prick the bottom of the crust with a fork a few times. If your recipe calls for a fully baked crust, continue baking until it's golden brown. If it's a parbaked crust, bake for just another 5-10 minutes until the bottom is set.
Unlocking Advanced Flakiness: Beyond the Basics
While the fundamental techniques are key, there are a few "secret ingredients" or advanced tips that can push your pie crust from good to extraordinary.
The Vodka Trick
This is the "one ingredient I’ll never leave out of my piecrusts again" that the professional baker likely discovered, or a similar concept. Vodka is an exceptional addition because it's a liquid, but unlike water, it doesn't contribute to gluten development. This means you can add more liquid to your dough, making it easier to roll without developing toughness. During baking, the alcohol evaporates completely, leaving behind an incredibly tender and flaky crust. Substitute some of the ice water in your recipe with an equal amount of cold vodka (about half the total liquid). The article Pro Baker Tests Pie Crusts: Unlock the Secret to Perfect Texture delves deeper into such innovative approaches.
A Touch of Acid
Adding a teaspoon of apple cider vinegar or lemon juice to your ice water can also help tenderize the dough by inhibiting gluten formation. It's a subtle trick that can make a noticeable difference, especially if you're prone to overworking your dough slightly.
Laminating for Layers
For ultra-flaky, almost puff-pastry-like layers, some advanced recipes incorporate a folding and rolling technique similar to rough puff pastry. After mixing, roll the dough into a rectangle, fold it into thirds (like a letter), rotate, and roll again. Repeat this process 1-2 times, chilling between folds. This creates numerous layers of fat and dough, resulting in a spectacularly flaky crust.
Conclusion
Achieving a truly tender and flaky pie crust is a culinary triumph that's well within your reach. It's a journey of understanding how flour, fat, and liquid interact, and then applying precise techniques with care and patience. From the crucial role of cold ingredients and minimal handling to the benefits of blind baking and even a splash of vodka, each step contributes to the perfect foundation for any pie. Don't be afraid to experiment with different fats or incorporate new methods. With practice, you'll soon discover your own "go-to recipe" that consistently delivers a pie crust worthy of any filling, delighting friends and family with every delicious bite.
